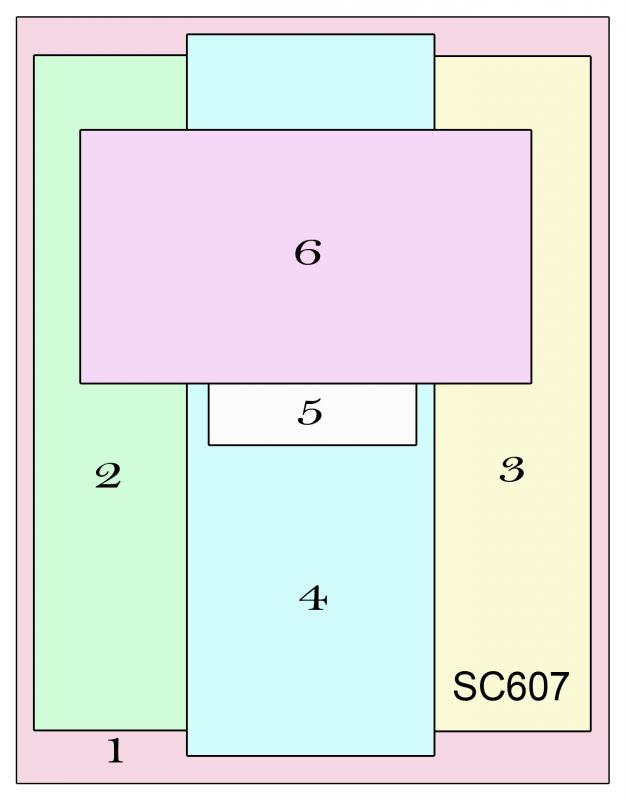
This tutorial is a long time coming! About two years ago, Becca Feeken at Spellbinders came out with these great Vignette dies where you die cut different layers of a scene and put them all together with a structure that you also die cut. These things BLEW MY MIND! I couldn't wait to get some of these dies.
Everyone else felt the same way.
These dies sold out very quickly! By the time I got to the website with my credit card, they were gone! I had no way of making an adorable vignette that would fold up, go in an envelope, and bring not only my good wishes but "ooos" and "ahhhhhs" from the recipient.
Or did I?
That's when I invented this card. But unfortunately, my life was so busy at that point (sole caregiver to my mother, who has dementia) that I didn't have time to make a tutorial. But now I do, and so here we go!
Because I wanted this to be a springtime card, I chose to use a base of Stampin' Up's Mint Macaroon cardstock. I cut one piece of cardstock at 11" X 5-12," and cut another piece of cardstock into four pieces, each 4-1/4" X 5-1/2".
If you want to make it easy on yourself, MAKE SURE THE 4-1/4" MEASUREMENTS MATCH! Each of those four pieces should be EXACTLY the same width. Stack them on top of each other, and if they are not EXACTLY the same width, trim them so they are. I sound like someone who didn't do this earlier, don't I? Mmmmhmmmm.

Score the big piece of cardstock right down the middle at 5-1/2", and score each of the smaller pieces at 1/2" on both long edges (see diagram below).
Remember: When you score cardstock, fold AWAY from the indentation, not with it. I know it's counter-intuitive, but if you fold away from the indented score line on the big piece, it's going to make one of the instructions further down make sense. Michelle Wright explains it well here.

I bought these dies from Poppystamps specifically to create this technique. If you do not have these dies, you can use any nesting dies you have. You can use dies that are the same size for that matter. If you don't have dies at all, you can cut a tunnel in your cardstock with a paper trimmer or scissors. Heck, it's just paper! Play around with it!

Here is the same cardstock after I die cut. (Okay, some of you have noticed that there are two right-side score lines on the bottom right-hand panel. I initially scored the wrong indentation. Whoops! That's why I designated this panel to be in the back. No one will notice.)

I colored directly onto the trees and branches with the brush tip of a Copic W5 marker and airbrushed with some yellow-green Copics. I used the lightest marker for what's going to be the front panel and went gradually darker. However, I don't think that was necessary because you can always change how light or dark you go by airbrushing lighter or darker. (Eventually, I end up adding more color anyway, but at this point in the process, I didn't know I was going to do that yet.)

Cut a contrasting panel (mine is yellow) at 5" X 3". This is going to go at the back of the tunnel, so I used a really bright panel. Then, after placing the tree panel with the smallest opening over top of the 3X5 panel so I would know where to stamp, I stamped the word "Spring." I also smeared some glue at the bottom and covered it with Flower Soft that I found in a drawer. The flower soft did not cover completely, so I added some light green glitter as well. It's like a meadow of flowers and glitter, like in real life.

Now it's time to add our first windowed panel to the inside of the card. Start with the panel with the smallest opening. Add some Score-tape (or other adhesive; your choice) to the left flap of that panel. Because you have folded your 11" X 5-1/2" cardstock against the fold indentation, you should have a ridged score line on the inside of the card. Place the panel with the tree window on the right side of that ridge. Peel the Scor-Tape liner off, make sure everything is lined up, and close the front of the card.

Now, when you open the card back up, you should see something like this.

Take the panel with the second smallest opening, put some Scor-Tape (or other adhesive) on the left flap, and adhere it just above the panel you just did.

Keep doing that until you have all four windowed panels stuck down evenly on the inside front of your card.

I forgot to take a picture of it, but adhere the 3" X 5" panel (mine is yellow) to the inside back cover so you will be able to see it through the windows. Even though I forgot to photograph that part. You are very smart and will be able to figure out exactly where it goes.
At this point in this particular card, I realized that just airbrushing some green around the tree tops was not going to make this a very woodsy card, so I took some distress ink and a sea sponge and sponged leaves on the various layers. It was extremely easy to mask off each layer by simply putting a half sheet of cardstock behind the panel I was working on and another half sheet to the left of that panel. I also took the opportunity to airbrush some moss or grass on the ground under the trees.

And then I die cut some deer, and a bunny, and some birds. I believe these dies are from Impression Obsession. I sponged some ink on the edges to make them look more rounded and lifelike.

This is a great time to add any critters or flowers or vines or whatever to your layers. So much harder after sticking the right side of the flaps together (voice of experience).
I also realized I wanted to scatter some more Flower Soft at the bottom of each layer, so I did that too.

Now cut one more piece of the green cardstock at 5-1/2" X 4-1/4" and score it lengthwise at 2". I went ahead and stamped mine with a wood background.

The 2" part of the panel is going to be used to hold all four of the right-hand side flaps together, and the 2-1/4" part of that panel is going to get stuck to the right-hand inside of the card. Because you are sticking flaps together, on the back of that panel, run your adhesive horizontally. I used my wide Scor-Tape for this because . . . I really don't have a lot of other uses for tape that wide, and I have a whole roll. You can absolutely use adhesive that is narrower.
Open up your card completely and press all those layers down. See how they line up nice and even? That's where the 2" part of the new panel is going to go!
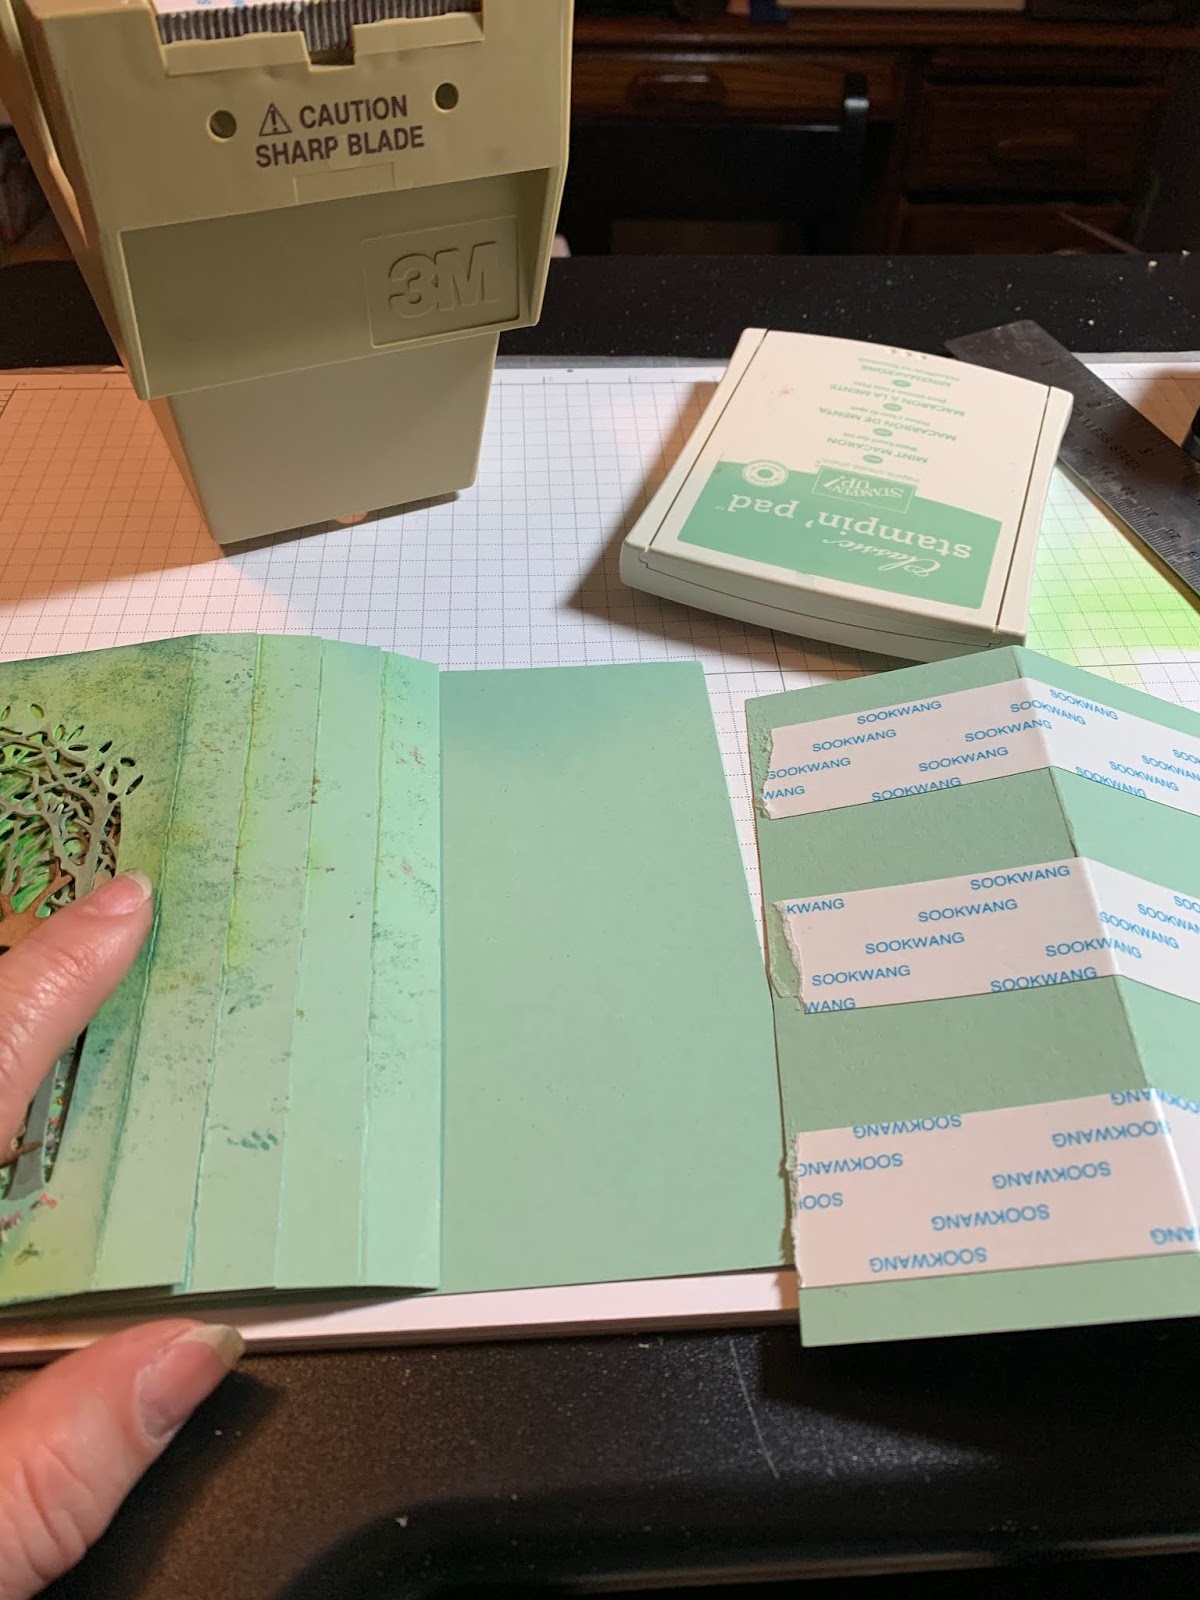
Take your Scor-Tape liners off, and stick it all together. I glued the 2-1/4" part to the back cover first, and then--while it was all still flat--glued the 2" side down.
Open the close your card to make sure it all works. If you want to take another run at it, Scor-Tape can be loosened with your heat gun and the paper very gently pried apart again. Also feel free to use your scissors to trim anything that didn't quite fit.

To finish up the inside of the card, I stamped this sentiment by Penny Black to the left of the trees.

And this is how the tunnel looks all put together! Magical!

Here is the entire inside of the card put together.

Oh yeah, I need an outside of the card too! I used this die from Eutreec that I bought really reasonably from Amazon, and a wood-grain embossing folder from Stampin' Up.

Here are a couple more samples I made:
This one uses regular old nesting dies, and some very old but gorgeous paper from a company I don't even think is in business anymore. I can't remember what this paper is. I made the card two years ago.

I have a thing for adding butterflies wherever I can.

The nesting dies used here are Spellbinders, and the butterfly and plant dies are Cheery Lynn.

And this one uses Spellbinders dies from the one and only Becca Feeken! Yes, the very dies I was looking for and couldn't get at the time, came back in stock and I bought them!!! And now I can use them in the Storybook Tunnel Card!
I also got to use some very beautiful paper from Graphic 45 on this one.

This card is made even more special with a door. The door opens and everything.


Look! Another magical world inside! A message of thanks! And thanks to all of you who hung in there all the way to the end of this very long blog post.

If you have made it all the way to the end, you have to click on this link and see the VERY GORGEOUS card made by my good friend, Shelly Hickox. Shelly is a genius with Graphic 45 (with anything really--very creative that one).
Now go make one of your own!
Cyndi